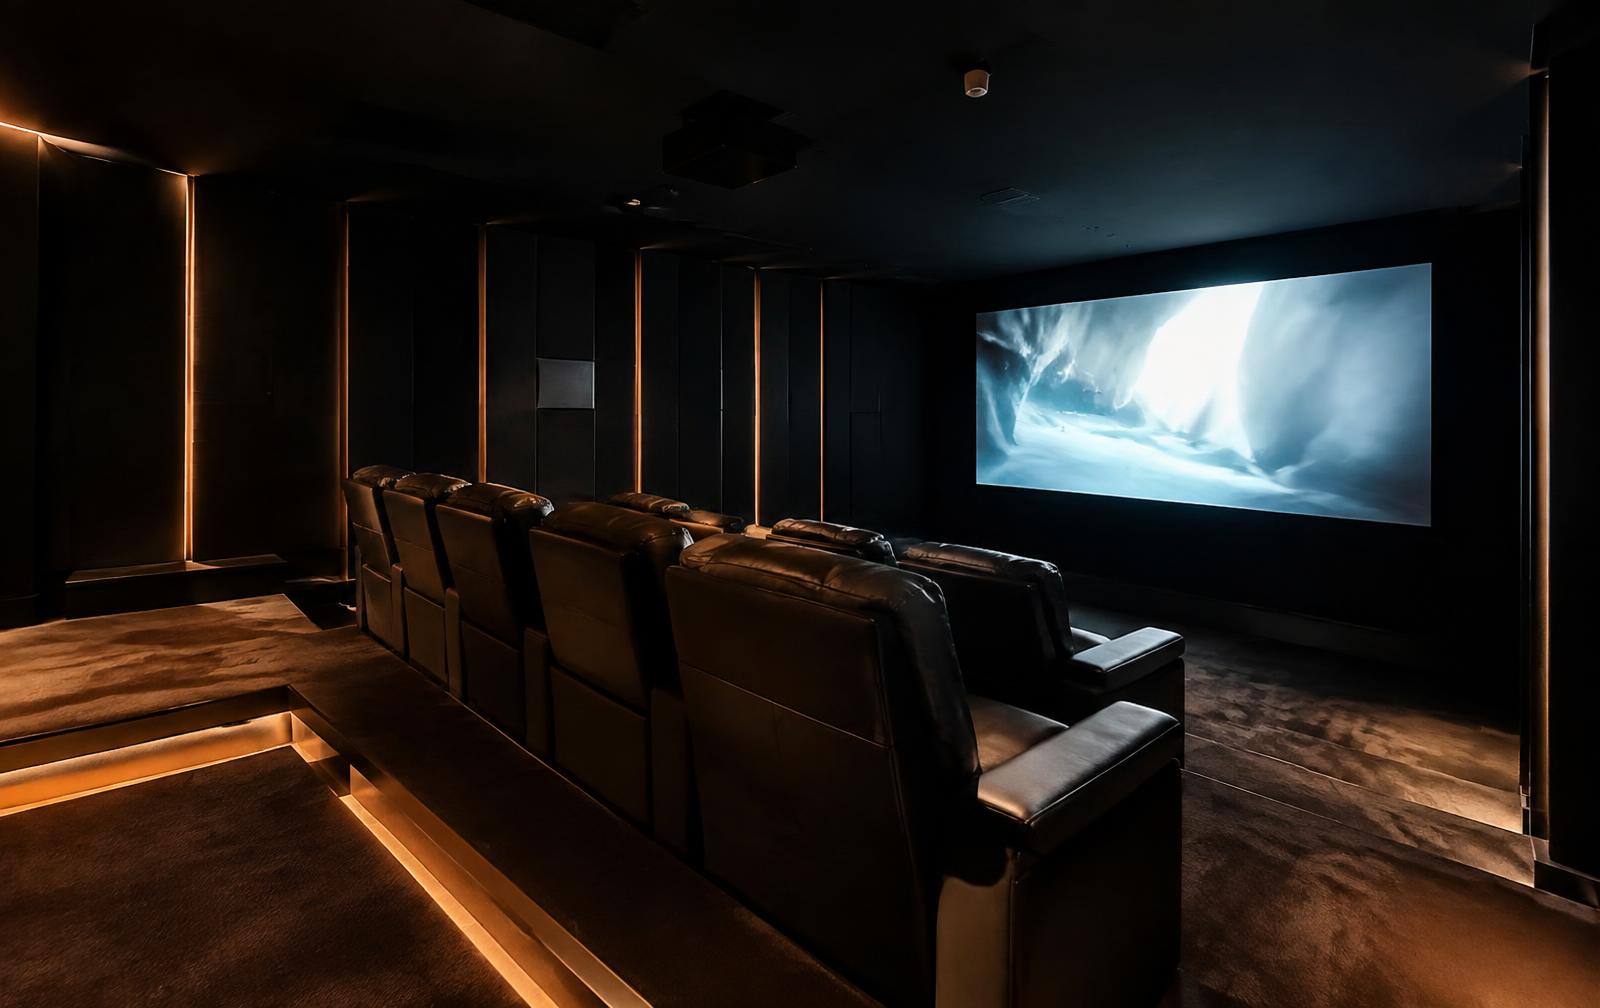
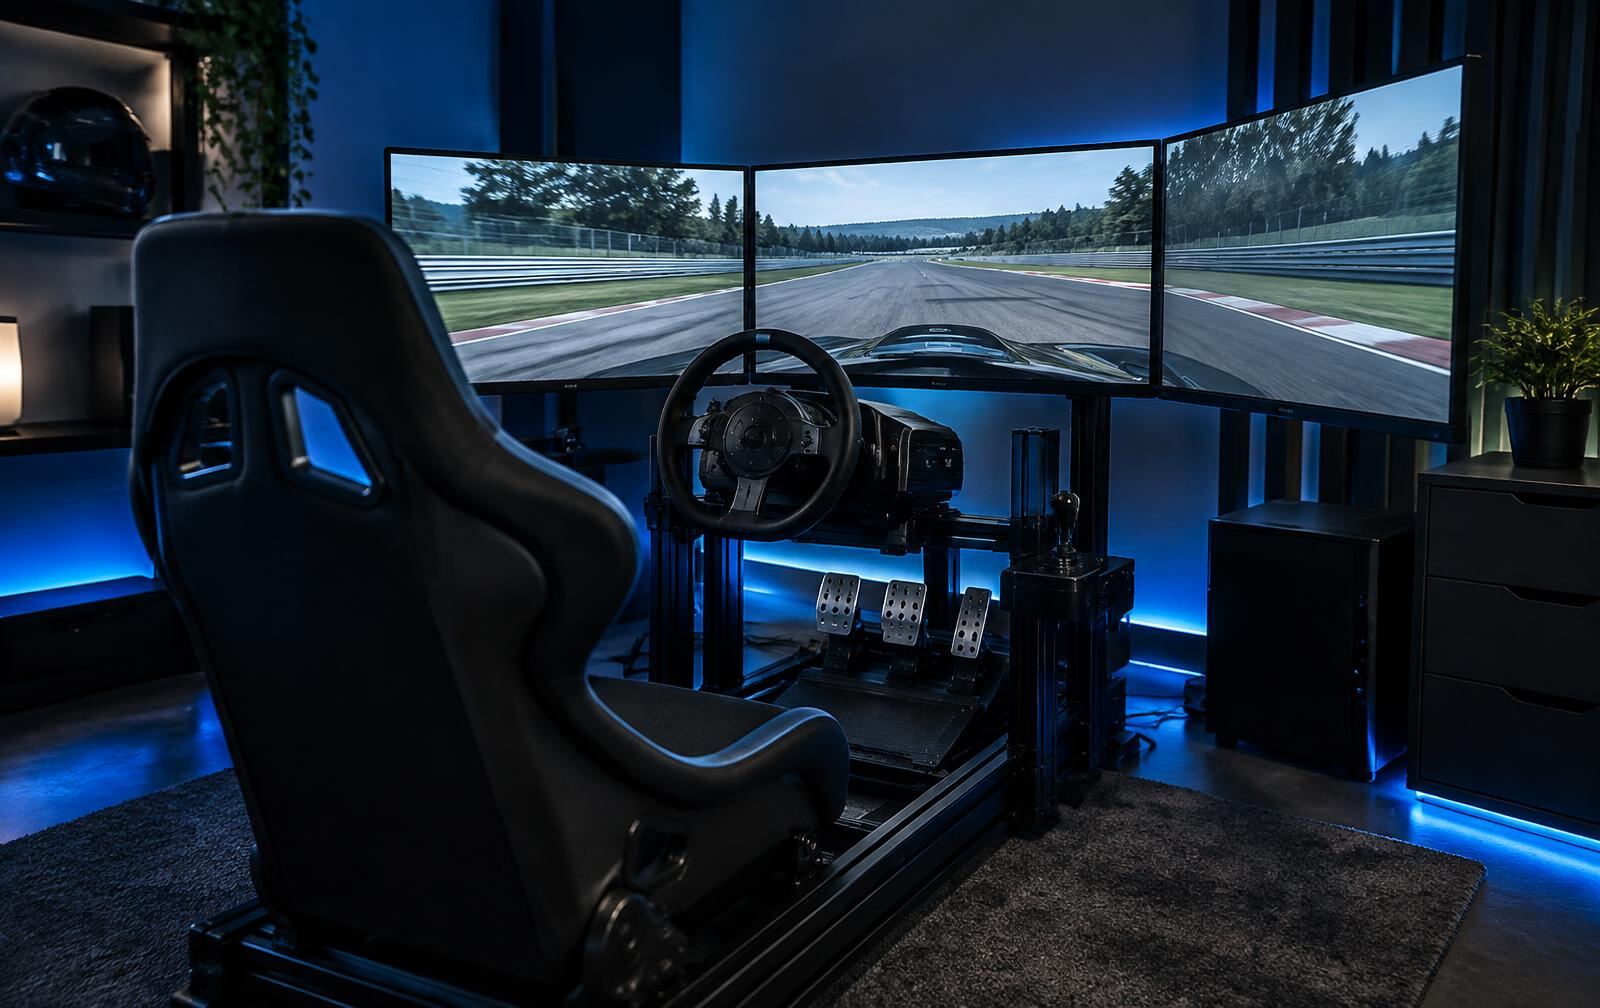
Treat it as a small technical installation, not a desk upgrade
A serious racing simulator setup has more in common with a small AV and electrical installation than with a gaming desk. Direct-drive wheelbases produce real torque, triple-monitor or projector setups need accurate geometry to feel right, and the whole rig draws meaningful, continuous power. When I design a racing simulator room, I work through the same five areas every time: the cockpit itself, the display, power, networking, and lighting. Skipping any one of them tends to surface later as a problem that's expensive to fix after the room is finished.
Cockpit rigidity and mounting
A wheelbase that isn't mounted rigidly will flex, vibrate, and eventually loosen fixings, which both feels wrong and shortens the life of the hardware. This isn't a minor detail — Simucube's own mounting documentation states plainly that its wheelbases must always be mounted rigidly to the rig for user safety, and sets out specific bolt sizes and mounting patterns for doing so correctly [1]. Rig manufacturers echo this from the other direction: Fanatec's own guidance on desk-mounted setups stresses testing the mounting surface for stability before fitting anything, because the forces involved during hard braking and cornering can flex or damage an unsuitable surface over time [2].
For a fixed rig — the kind I'd specify for a dedicated room — I favour a purpose-built cockpit frame over a desk-clamp solution, precisely because a desk was never engineered for sustained torque loads. Next Level Racing's published cockpit assembly documentation is a useful reference for how a rigid, purpose-built frame is actually constructed and fixed together, which is worth understanding even if the final rig choice is a different model or brand [3] [4].
- Check the specific wheelbase manufacturer's mounting documentation for bolt sizes, patterns and torque guidance before fixing anything.
- Test the rigidity of any mounting surface under realistic load before trusting it, not just under light hand pressure.
- Favour a purpose-built cockpit frame over a desk clamp for a dedicated, frequently-used room.
- Leave clearance behind and beside the rig for pedal travel, cable runs, and getting in and out of the seat comfortably.
- Re-check all fixings periodically — vibration from sustained use can loosen bolts that were correctly torqued at installation.
Display geometry and placement
Whether the room uses a triple-monitor array, an ultrawide, or a projector, the display needs to be positioned relative to the driver's eye point in the seat — not centred on the desk or wall for visual tidiness. I set seating position first, then build display placement, viewing angle and distance around it, the same seating-first principle I use in home cinema design. Getting this wrong doesn't just look odd; it changes depth perception and can genuinely affect how usable the simulator feels.
For projector-based setups I check throw distance and lens requirements against that specific projector model's documentation, since optics and mounting requirements vary between units in the same way they do for home cinema projectors.
Power, networking and lighting
A capable rig draws real, sustained current: wheelbase, pedals, motion hardware if fitted, the PC, and multiple displays, often all running at once for hours. I always plan a dedicated circuit for a racing simulator room rather than sharing a general household ring, and I specify this early enough that an electrician can plan it into the room before finishes go on — but the circuit itself must be installed by a qualified, licensed electrician, to local regulations, and I always confirm the specific hardware's power requirements against its own manufacturer documentation rather than assuming a typical household socket is automatically adequate for a high-end setup.
Networking matters more than people expect, because online racing is latency-sensitive and a dropped connection mid-session is genuinely disruptive. I specify a wired connection to the simulator PC wherever possible, on the same principle I apply to any automation or AV controller — Wi-Fi for convenience devices, a cable for anything that has to be reliable [5].
Lighting is a detail worth planning carefully. Direct light or reflections on the display destroy contrast and make depth harder to judge, so I design lighting that can be dimmed or redirected away from the screen during a session, with separate, brighter lighting available for getting in and out of the rig safely. A room that's pitch dark during use but unlit when you're trying not to trip over pedal cables is just as much of a design failure as glare on the screen.
- Plan a dedicated electrical circuit for the simulator setup, sized and installed by a qualified electrician against the hardware's documented power needs.
- Use a wired network connection to the simulator PC rather than relying on Wi-Fi.
- Position lighting so it can be dimmed away from the display during use, without leaving the room unsafe to move around in.
- Route and secure cabling so pedal and wheel cables aren't a trip hazard or under tension during use.
- Confirm display throw distance, lens and mounting requirements against that specific projector or monitor's own documentation.